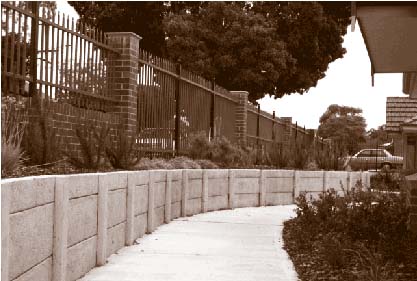
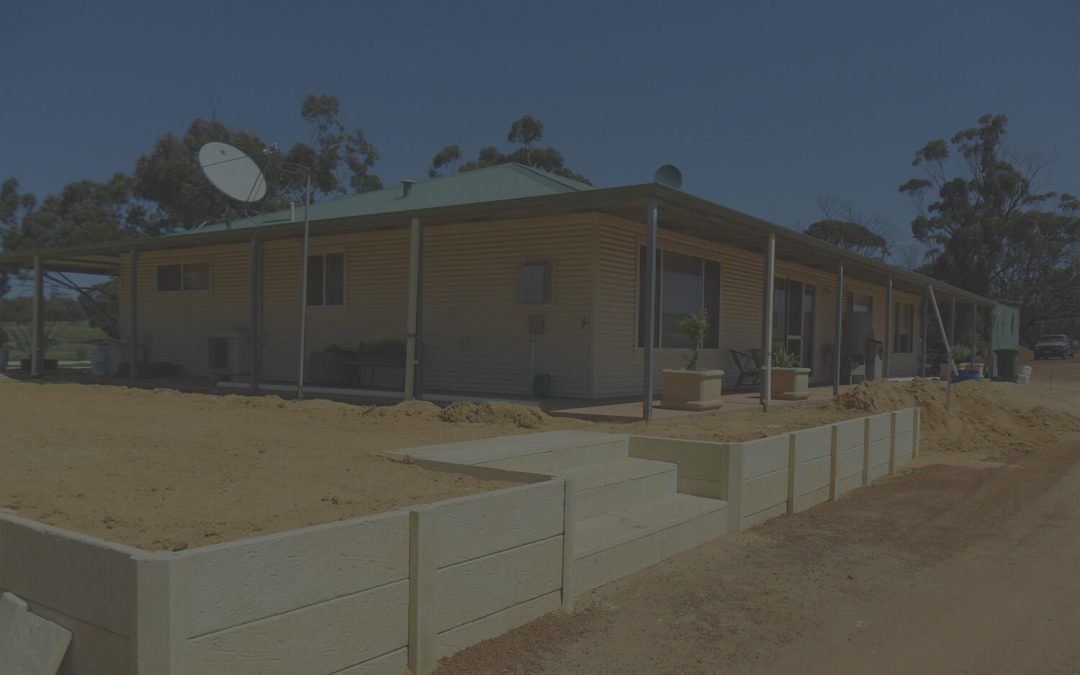
If you’re planning to take up a DIY retaining wall project, you need to keep a few things in mind. You have to see your options and choose which retaining wall suits your needs the best and is not a project that will be dragged on for too long. Once you know what you’re in for, it’s time to calculate your estimated budget and get your hands on all the material that you are going to need.
Retaining walls add an aesthetic touch to any landscape. While it is very visually appealing, these walls also prevent flooding and decrease soil erosion. In this article, we will learn how to build a retaining wall step by step and how to deal with sloped surfaces.
You will need these tools handy before you start your project:
- Circular Saw
- Concrete
- Cordless Drill
- Earmuffs
- H4 Treated Pine Sleepers
- Impact Driver
- Pencil
- Safety Glasses
- Scoria
- Shovel
- Spirit Level
- Spray Paint
- Square
- String Line
- Tape Measure

Once you have all your tools gathered,You can follow these instructions step by step for building DIY Retaining Wall:
1. Plan It Out:
Plan out the length and height of your retaining wall before you start with anything. This will help you get an idea of what material requirements you have and how many sleepers will be needed for your wall. Before starting, have a plan for all the soil that you will be removing by digging out trenches.
At Strong Lock, we will help you mark the areas which can be dug out without any complications. Since there are various wires, drainage pipes etc underground, you need to make sure you don’t end up damaging any of them.
2. Measure Your Space:
Use a tape measure to figure out how much space you will need for the timbers and how many timbers will be required. Be sure to leave some space at the back for your drainage pipe.
3. Choose Your Timber:
It’s now time to choose your wall blocks or sleepers. It’s advised to go with a minimum rating of H4 for your sleepers. Opting for treated pine sleepers is the ideal option as they are not only cost-effective but are also designed to go into the ground and will last longer in changing weather and soil conditions. A good quality treated pine sleeper can last up to 15-20 years, making it the ideal choice.
4. Mark Out The Posts:
According to the length that you have decided for your wall, the sleeper will need joiner posts to help keep them in place. So measure the points where and how high the sleepers will go and mark those points with spray paint or a big stone.
5. Dig Holes For The Posts:
Establish your string line by running it across the desired course of the wall. Once this is done, it is now time to dig holes for the post. Figure out what height of the post will be above the ground, on the basis of your calculations, dig holes for the posts with the same height.
6. Measure The Posts:
From the bottom of the dug-up hole to the top of the string line, measure the height of your posts. Figure out how many posts you will need for your wall.
7. Cut The Timber According To Size:
Once you’ve measured your required post height, it’s time to cut the timber for the wall and corner posts. Take a pencil and a square and after measuring and cross-checking for surety, mark the timber. After that, cut the timber using a hand saw or a circolar saw.
8. Positioning The Posts:
Once your timber is cut and ready, start putting the timber posts into their position. Make sure they are placed adequately to go in front of the wall. Use a sledgehammer if needed to position your posts better.
9. Attaching The Sleepers:
Get your drill ready, this step is all about placement and drilling. Place the wall sleeper behind the first end post. Now attach the other end to the next post. Keep repeating this process with sleepers until your bottom row is completed. Now repeat the same process for the top row of high sleepers.
10. Levelling The Posts:
Get your pencil and square again to mark your timber. Mark the height you need for the posts to be flushed along the wall. Use your circular saw or hand saw to cut off the tops of each post.
11. Pouring The Concrete:
First, go through the instructions on your concrete packaging. Follow them to make a proper mix of concrete. Make sure you make enough concrete mix and don’t have to keep making it every now and then. Pour the concrete into the holes around the empty base of every post. Cover each filled hole with soil and let it rest and set. It’s a good idea to hold or brace your posts in place while pouring the concrete and while it’s setting, to make sure everything is in place.
12. Installing Drainage:
This step involves pouring scoria behind the wall and placing your drainage pipe right on top of it. Now pour some more scoria over the placed pipe to cover it. Cover all of this with some soil and let it rest. It is important to make sure that the end of the pipe is running to an area that is accessible. You can direct the pipe to a stormwater drain on-site or simply into the garden area.
13. Cap It Off:
Single sleepers can also be attached to face down on top of your wall. They don’t just look good but also serve as a place to sit when you’re hanging out with your friends! You’re now all finished and have a stunning wall with a smooth finish in front of you!
FAQ’s
1. What is the cheapest way to build a retaining wall?
To build a budget-friendly retaining wall, your best bet is to invest in a DIY retaining wall kit at Strong Lock. We provide everything you need for the process, including any advice on how to go about with layering to save any pipe bursts etc.
2. How do you build a retaining wall on a sloped yard?
To build a retaining wall on a sloped yard, you can dig a stepped trench with a gravel base. After doing this, just follow the steps mentioned above for great results.
3. Can you do retaining walls yourself?
Yes, retaining walls are DIY material. You can easily build your own retaining wall with the help of the right tools and materials. This also gives you a chance to attempt an activity with your family or friends.
4. What is the easiest retaining wall to build?
There are several types of retaining walls that you can build. But the easiest in a retaining wall built with bricks. You can follow the steps mentioned in this article for optimum results. All your DIY retaining wall building essentials are available at Strong Lock.


Recent Comments